A . G u i d e . t o . M a p p i n g !
(A Work in Progress)
Hello, and welcome to the Guide on how to make maps and much more! I am your host… Char! ;D
I have moved this mapping guide to this new thread for organizational purposes; here is a link to the original guide: How to Map Effectively
Goals of this Guide:
-To teach the basics of mapping.
-To show different mapping techniques.
-To give hints on various mapping styles.
-Help you develop your mapping skills.
Before I begin this guide, I would like to give you some information about myself!
Though I am making a guide to mapping, I am not a perfect mapper myself, and I am definitely not an expert. BUT, mapping is definitely a passion of mine, and I love to see new mappers grow and learn the ropes. So as my mapping skills develop and I learn more, I hope to expand this guide, and extend what I have learned on to you! And if you have any tips and ideas to how I can make this guide better, feel free to give your input; I would love to hear it!
Update Log
Updates will be dated and recorded here.
Nov. 23rd, 2011 - Began writing Guide
Nov. 26th, 2011 - Created Example Houses
Nov. 27th, 2011 - Submitted Guide, Made organizational/technical changes, few player advice additions
Nov. 28th, 2011 - More organizational/technical changes, more player advice additions
Nov. 30th, 2011 - More organizational technical changes, more Common Errors, Added Perception section, added more to cliff section, and more mapping advice.
Dec. 4th, 2011 - Height Perception section was added. (Under Perception)
Dec. 21st, 2011 - Shadow section was added. (Under Perception)
Jan. 10th, 2012 - Perspective view was added (Under Perception), updated ToC, fixed errors.
June 21st, 2012 - Moved Topic, added separate segments for organization, and reworded sections.
April 30th, 2013 - Updated guide to housing center and added a title.
July 28th, 2015 - Finished adding each section.
Table of Contents:
THE TABLE OF CONTENTS LINKS TO EACH SECTION FOR EASY ACCESS.
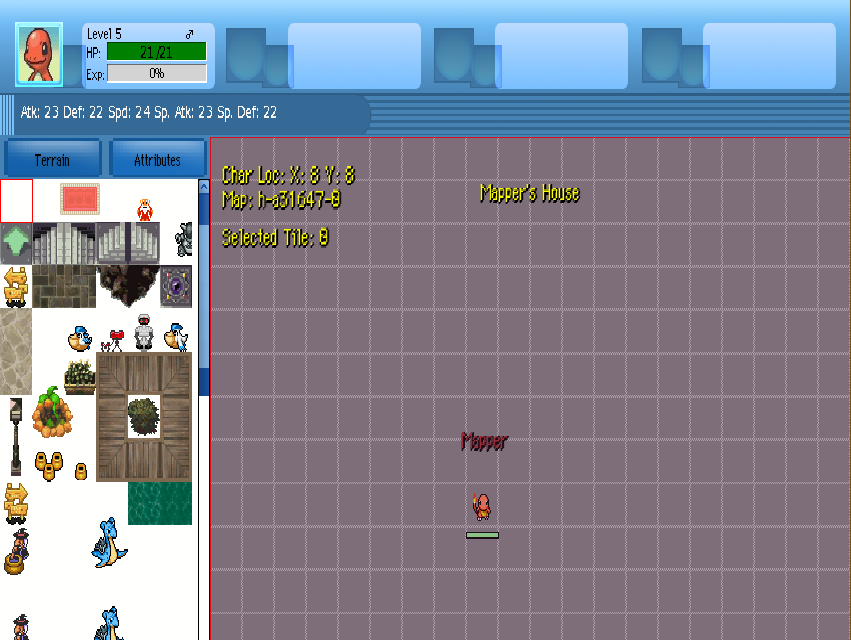
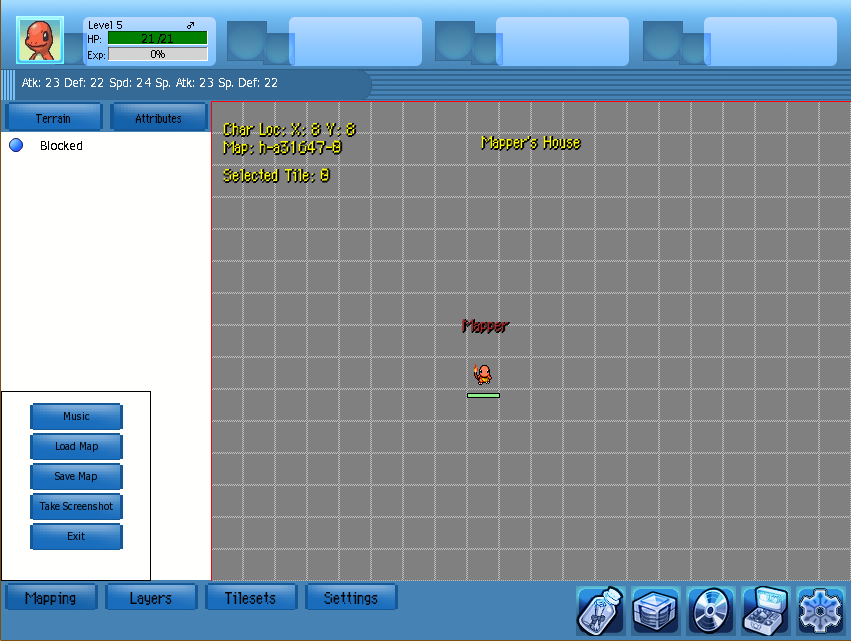
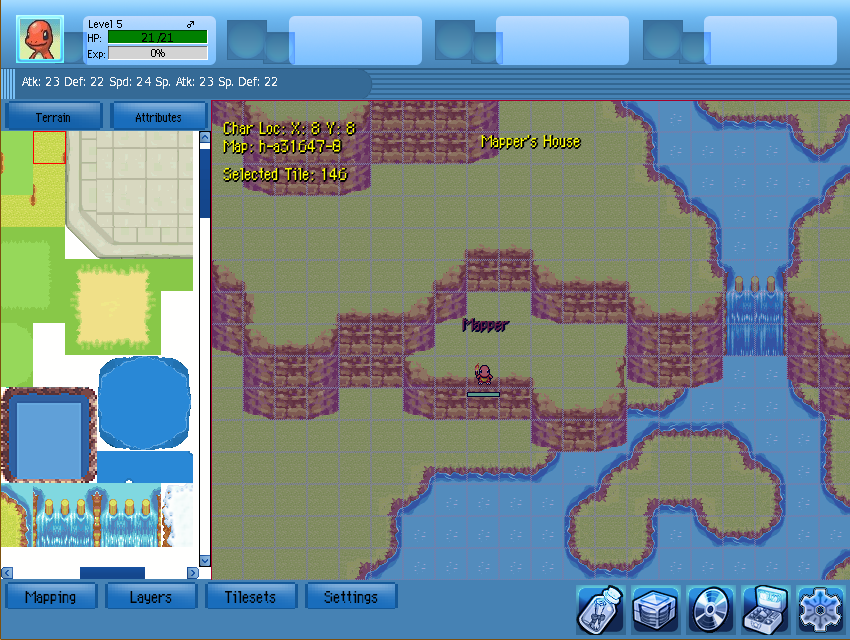
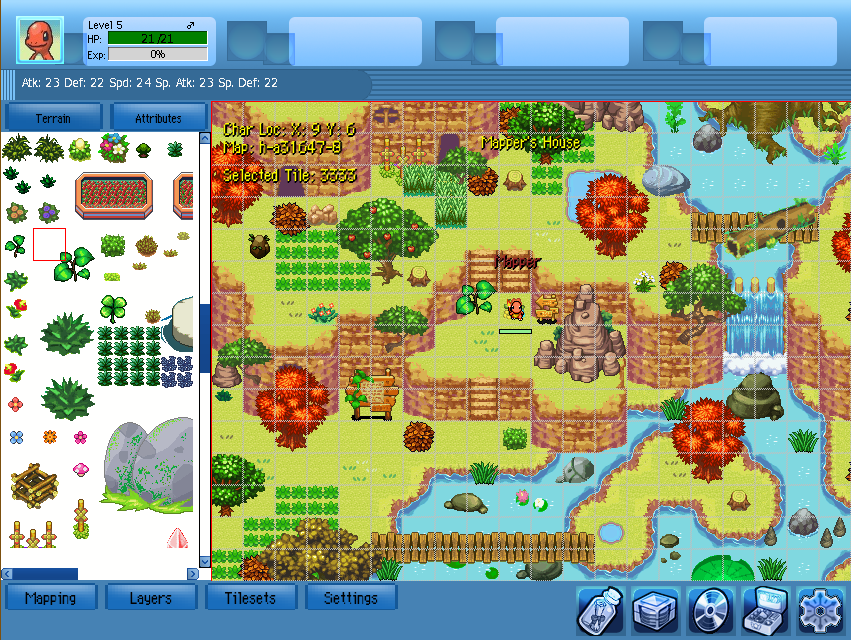
I. Understanding the Editor
-Commands
A. Where things are
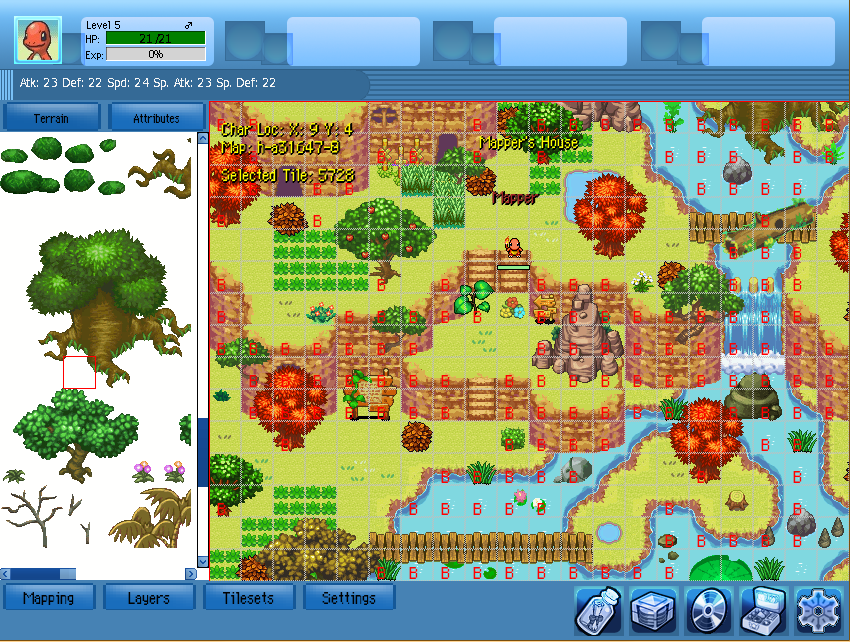
a. Terrain
b. Attributes
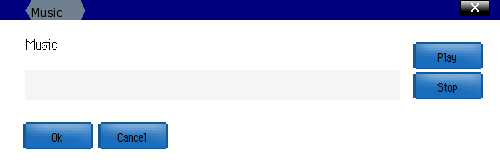
c. Music
d. Save House
e. Take Screenshot
f. Exit
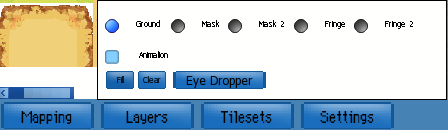
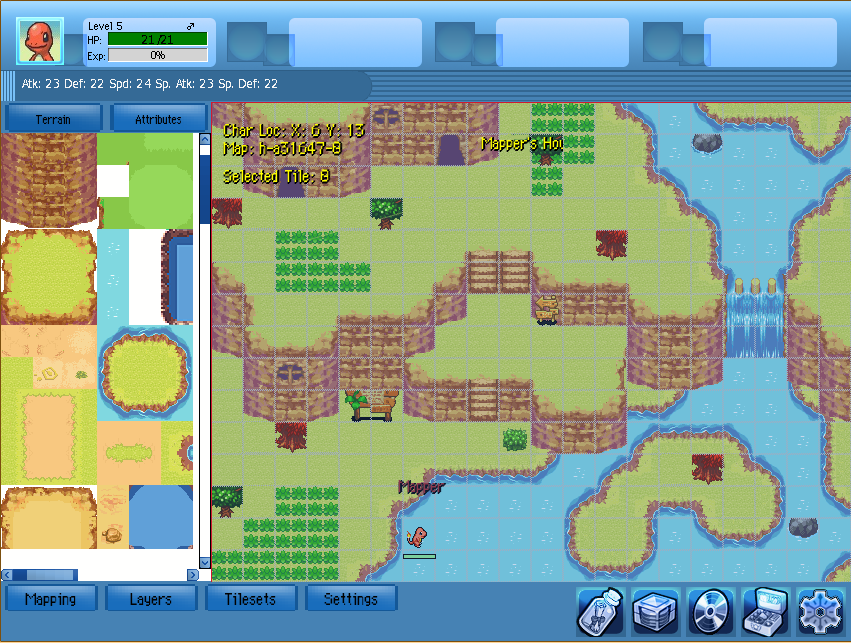
II. Layer by Layer Mapping
Analogies
A. Ground
a. What it is.
b. Tips
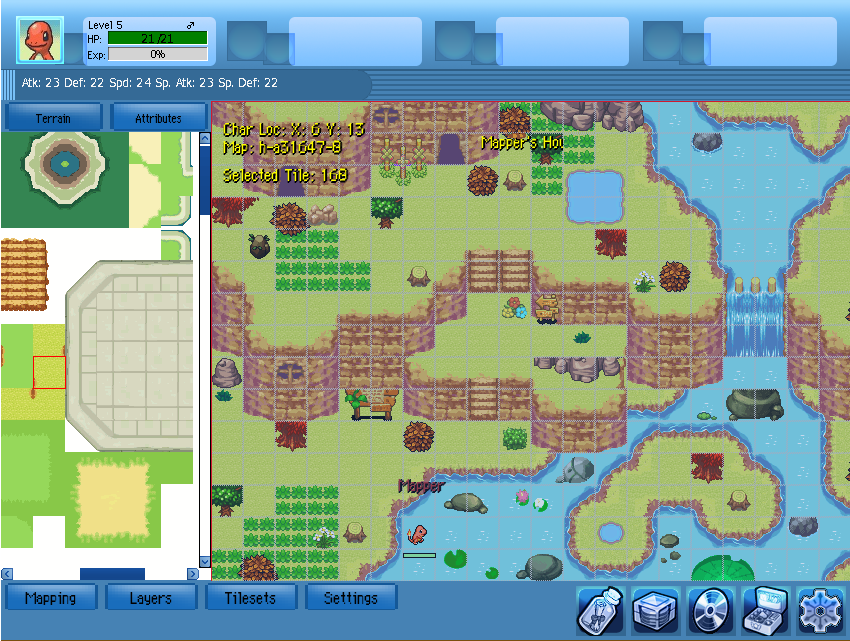
B. Mask
a. What it is.
b. Tips
C. Mask 2
a. What it is.
b. Tips
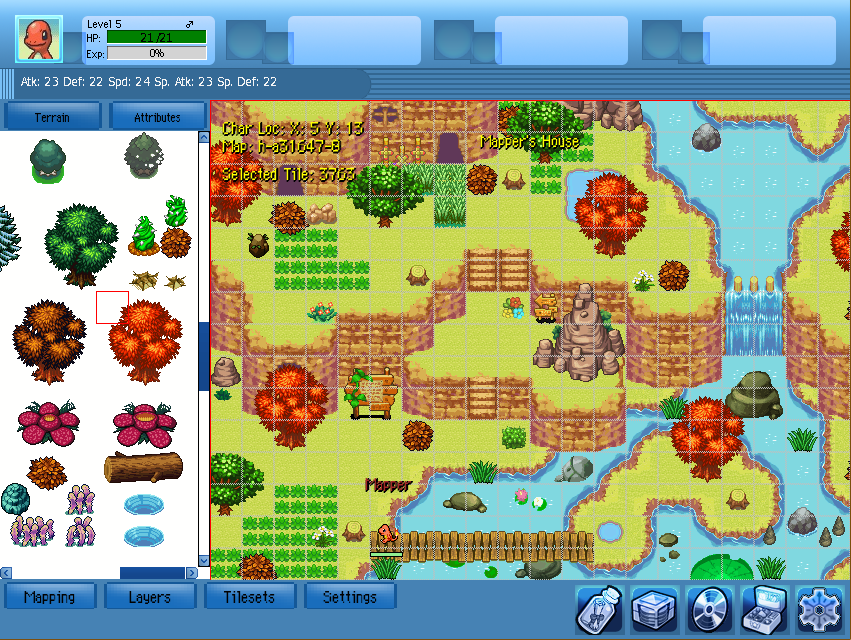
D. Fringe
a. What it is.
b. Tips
E. Fringe 2
a. What it is.
b. Tips
F. Attributes
G. REVIEW!
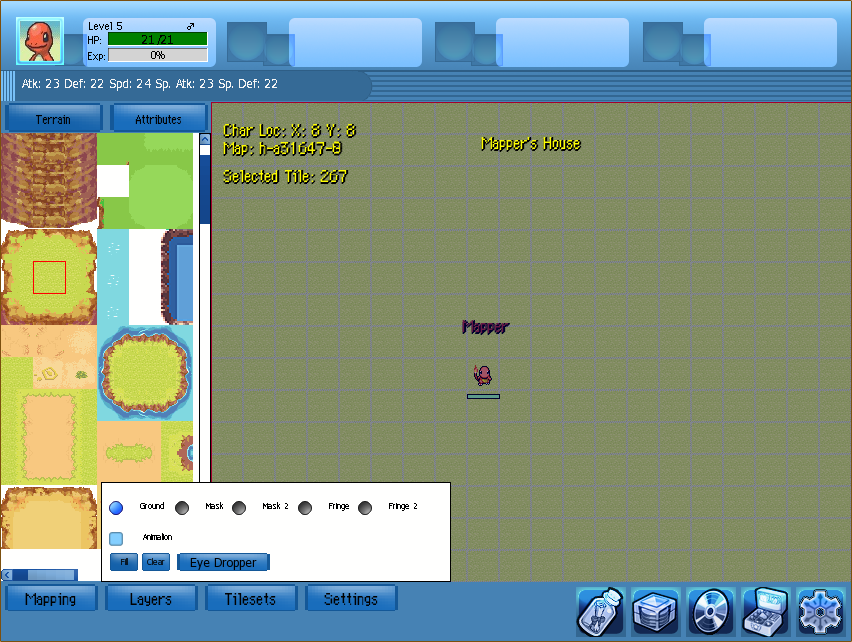
III. Tileset Rundown (Terrain)
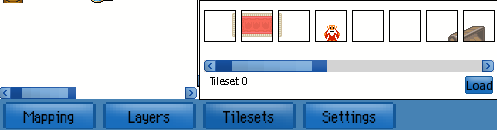
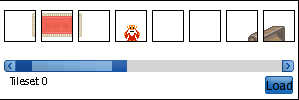
A. Tileset 0
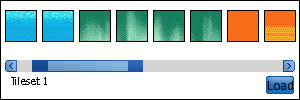
B. Tileset 1
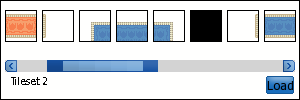
C. Tileset 2
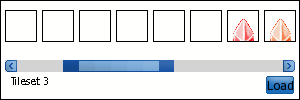
D. Tileset 3
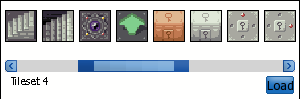
E. Tileset 4
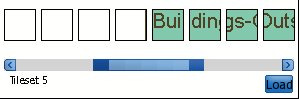
F. Tileset 5
G. Tileset 6
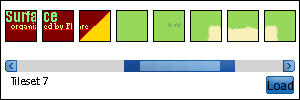
H. Tileset 7
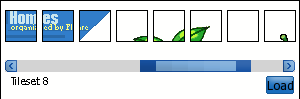
I. Tileset 8
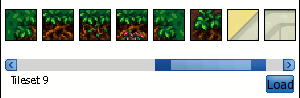
J. Tileset 9
K. Tileset 10
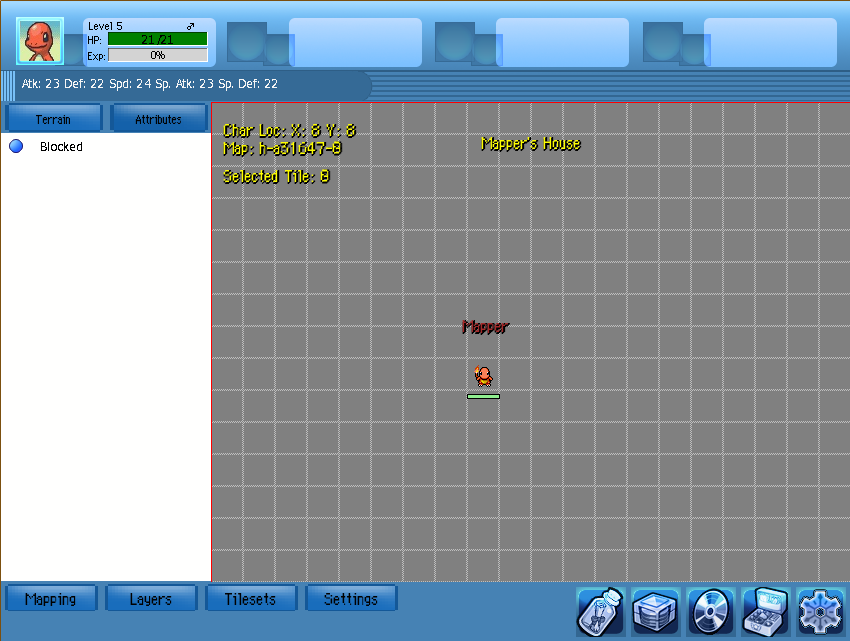
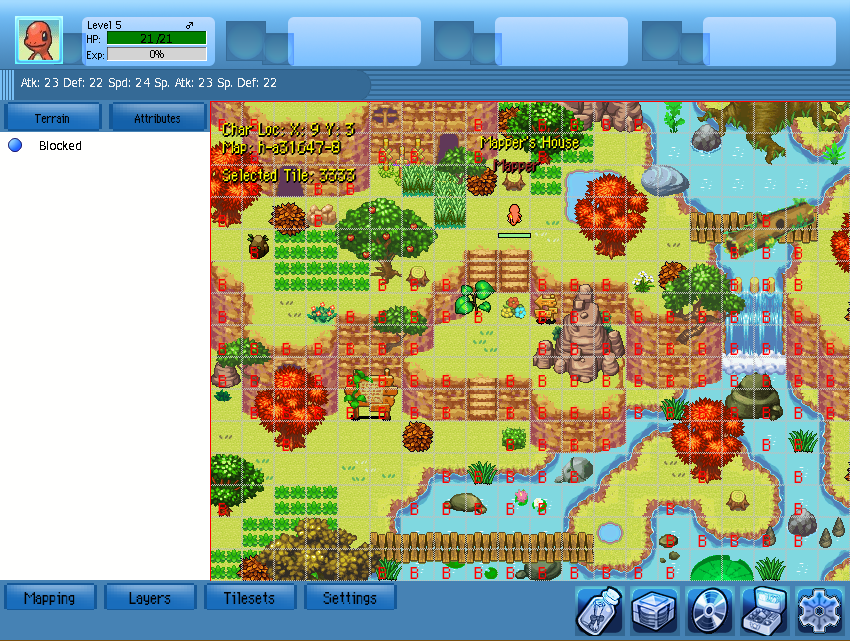
IV. Attributes
A. Types and What they do.
a. Blocked
b. Notice (Map Editor only)
c. Heal (Map Editor only)
d. Guild Block (Map Editor only)
e. NPC Avoid (Map Editor only)
f. Sign (Map Editor only)
g. Kill (Map Editor only)
h. Level Block (Map Editor only)
B. Settings
a. Map Grid
b. Attributes
c. Drag and Place
V. Animation
A. How they work
a. Water
b. Normal Items
c. Rain/Snow
d. Other Examples
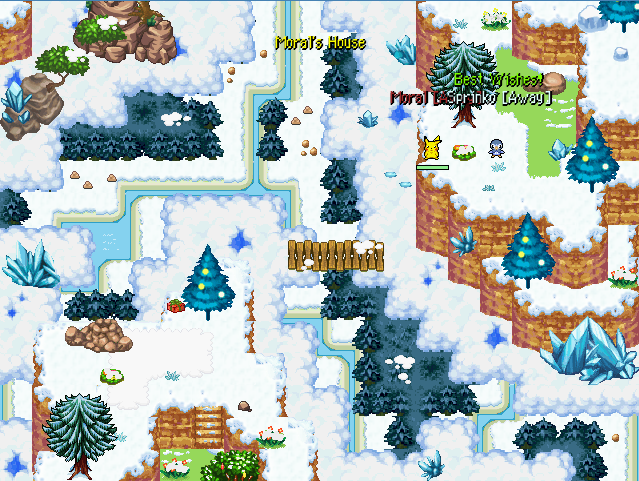
VI. Perspective
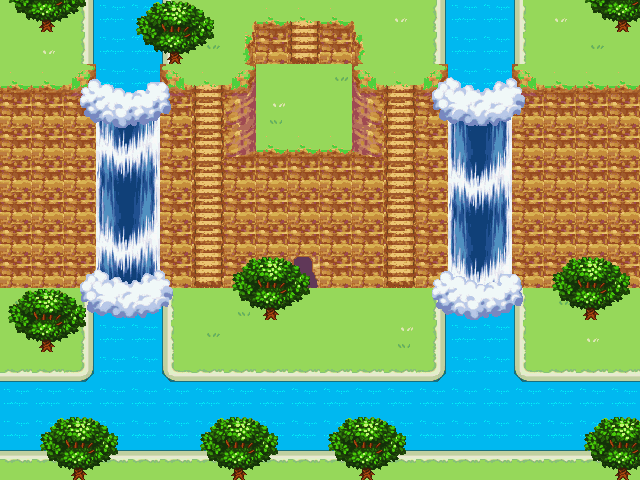
A. Waterfalls over Cliffs
B. Objects beside Cliffs
C. Height Perspectives
D. Perspective View
E. Shadows
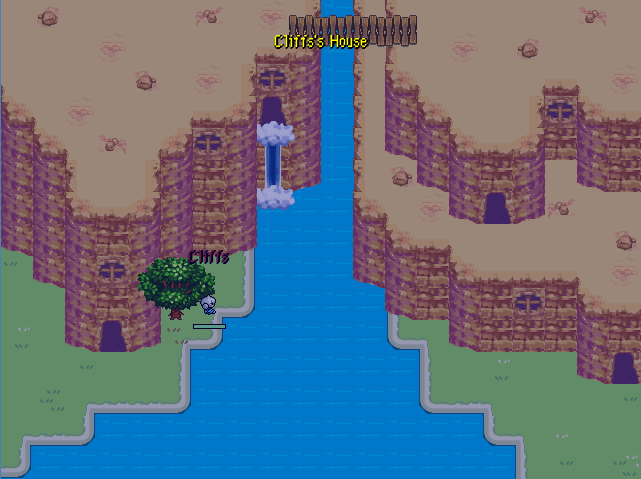
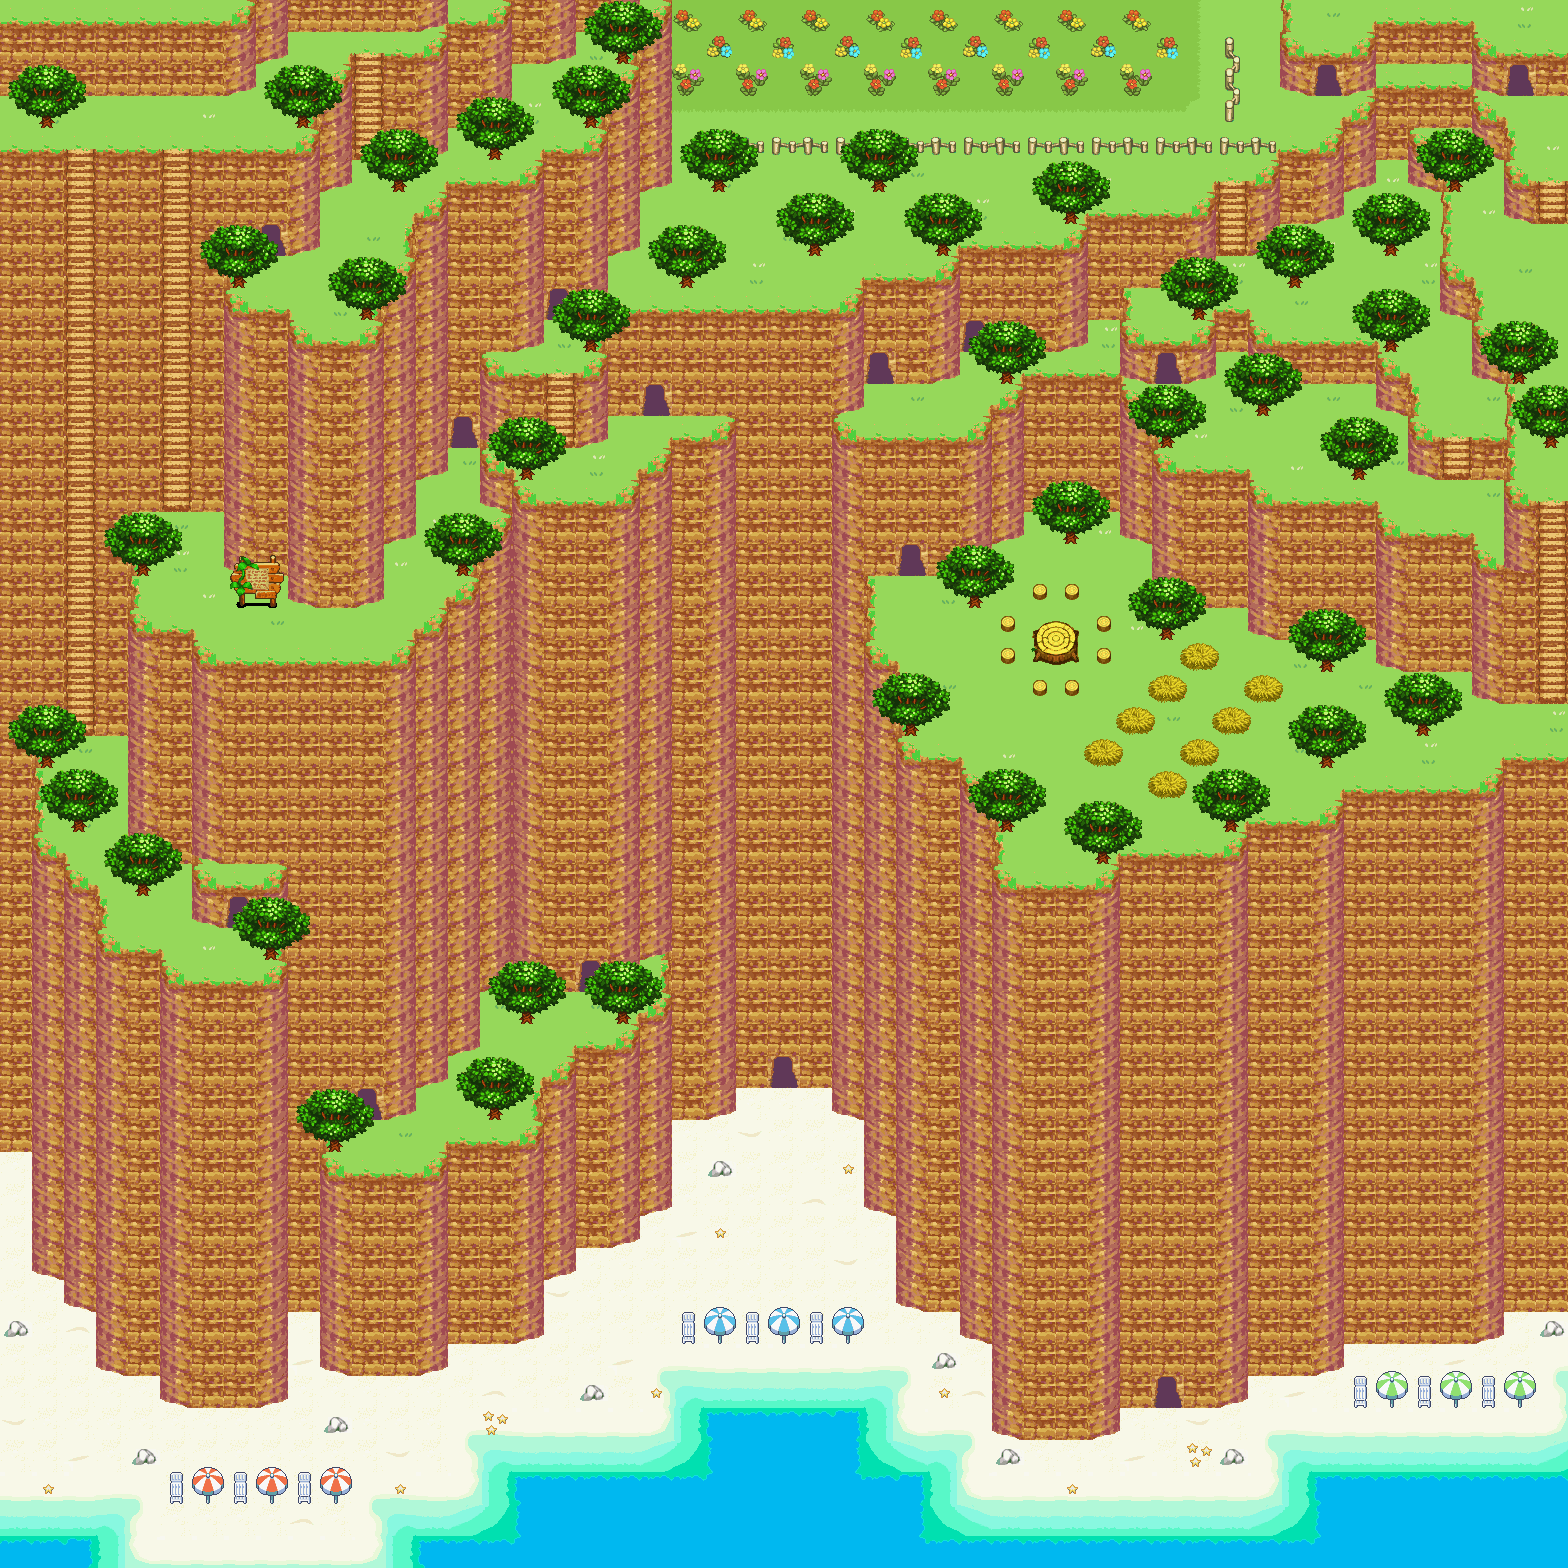
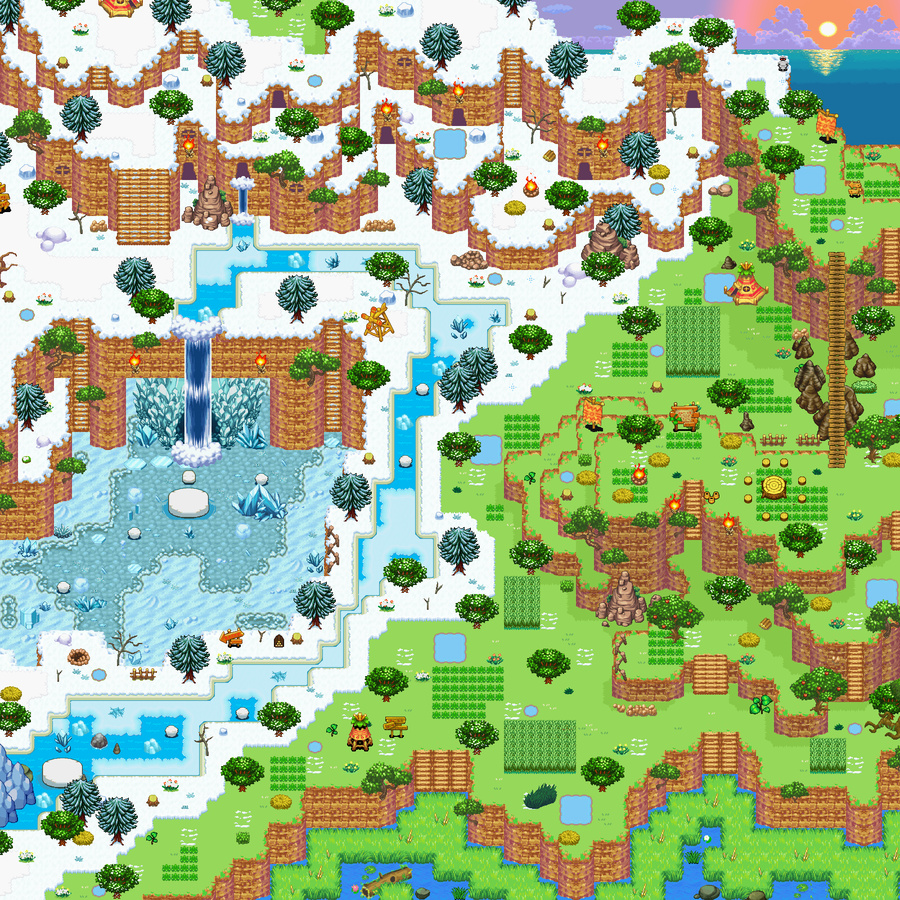
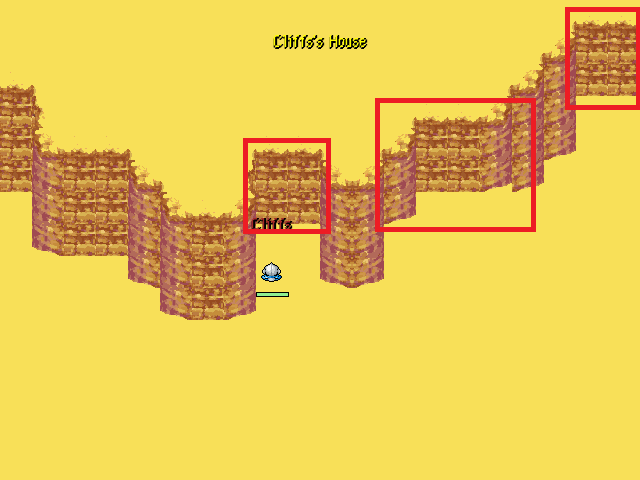
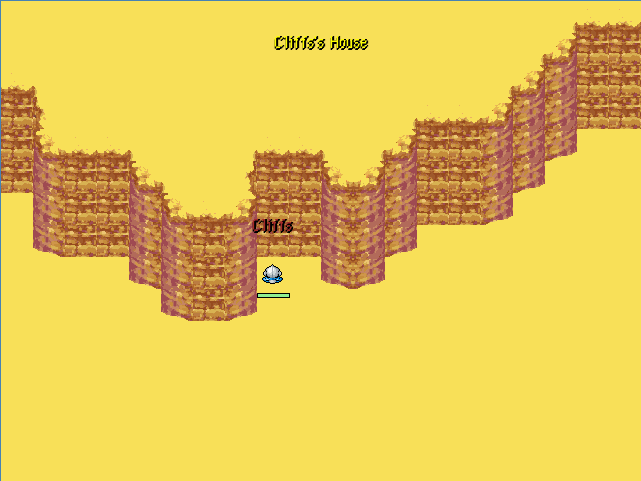
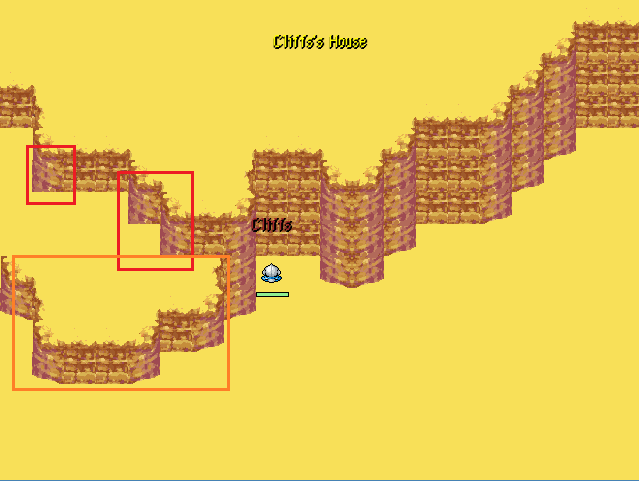
VIII. CLIFFS ( <3 )
A. Height Consistency
B. Attachments
C. Connecting Cliffs
XI. Advice
A. Observe
B. Explore
C. Get Inspired
D. Ideas
All of these things may not be added yet, and there is definitely more to come. So keep an eye out!
Now to get things started!
To get to your house:
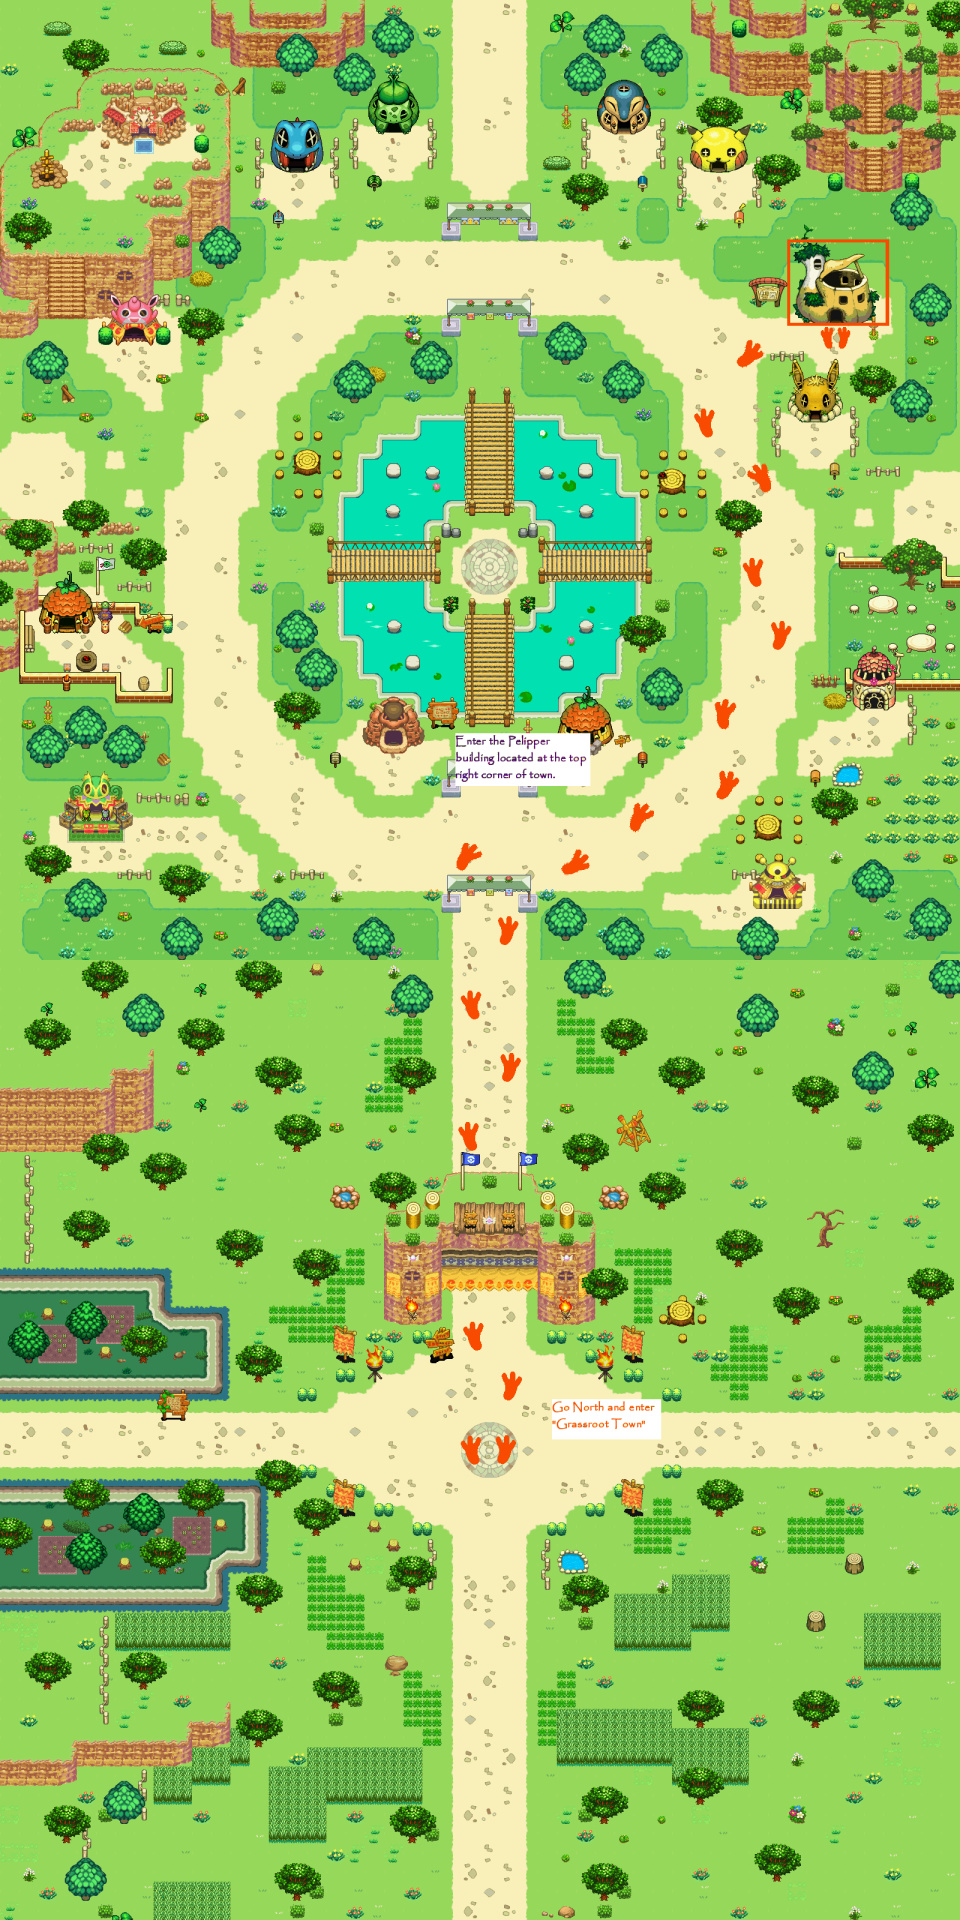
Step 1. Pelibird Building
To begin, you either need to be in your house or be using the PMU Map Editor. You can access your house by entering the Pelibird house located in the SouthWest part of town.
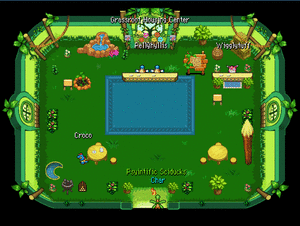
Step 2. Housing Center
Once in the housing center, enter the hole and click “Visit my House”.
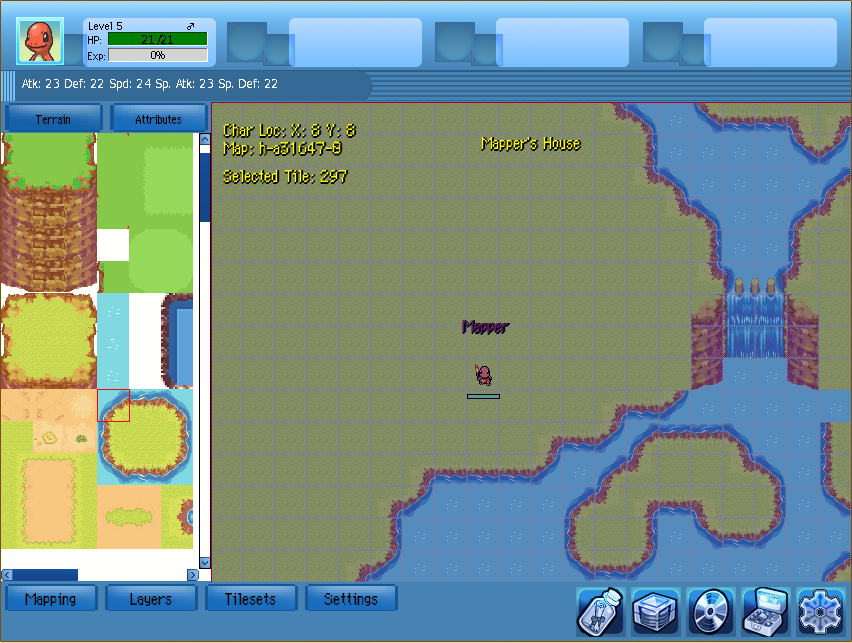
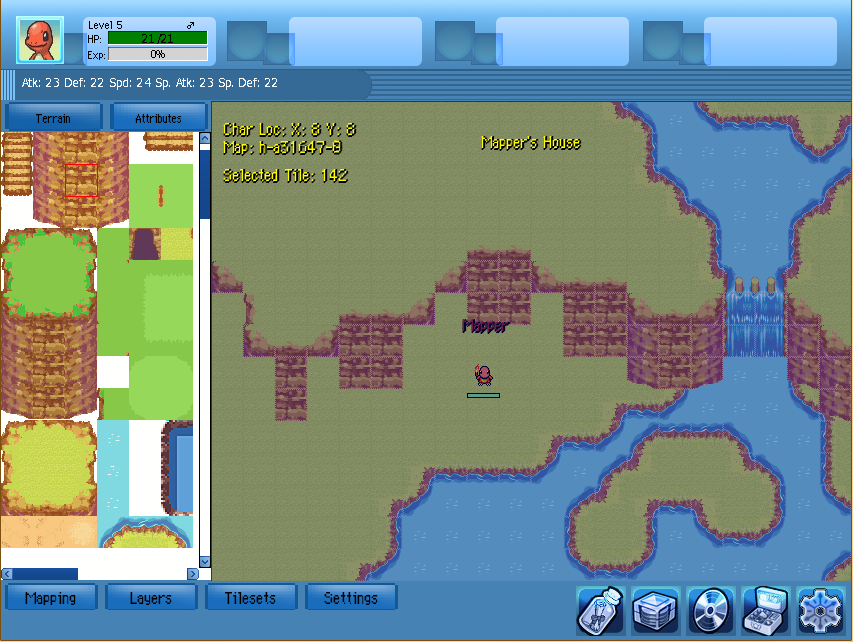
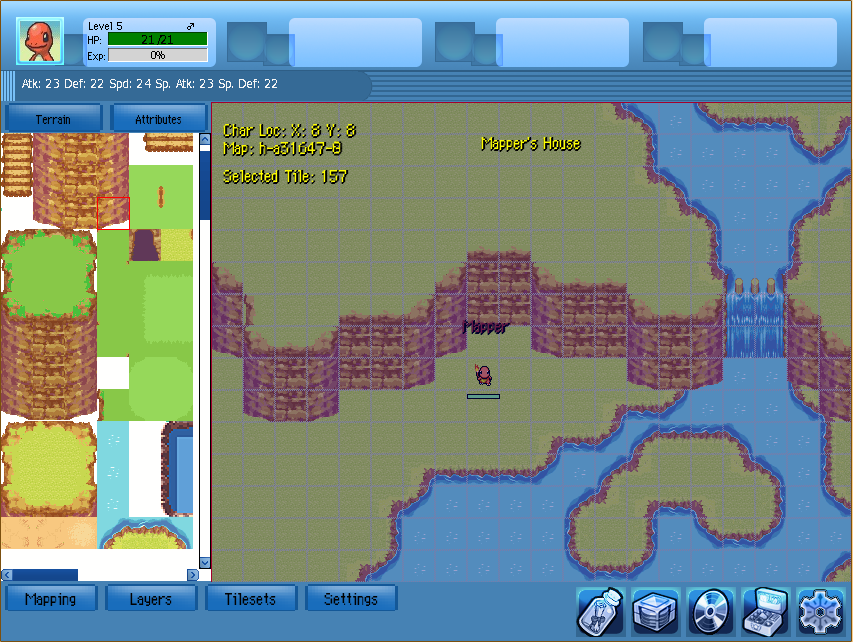
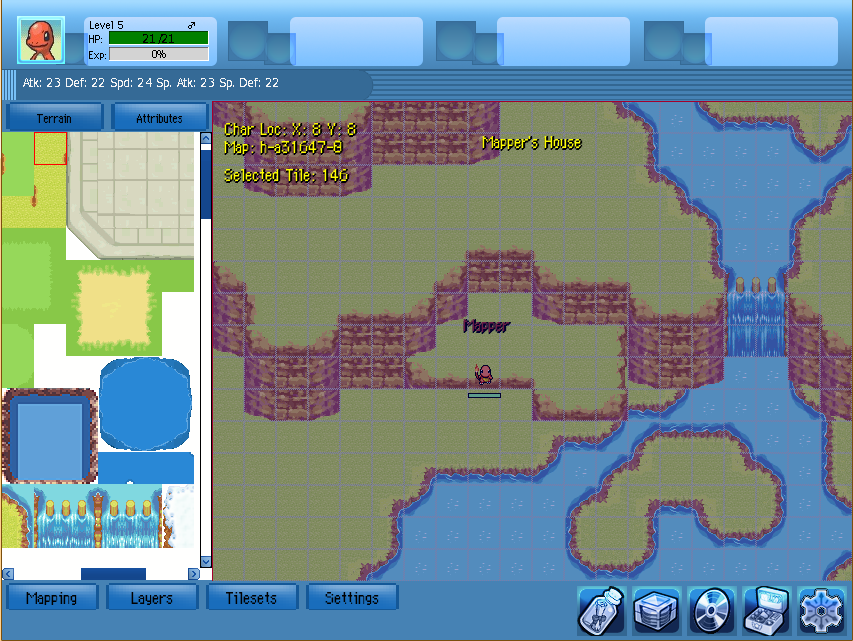
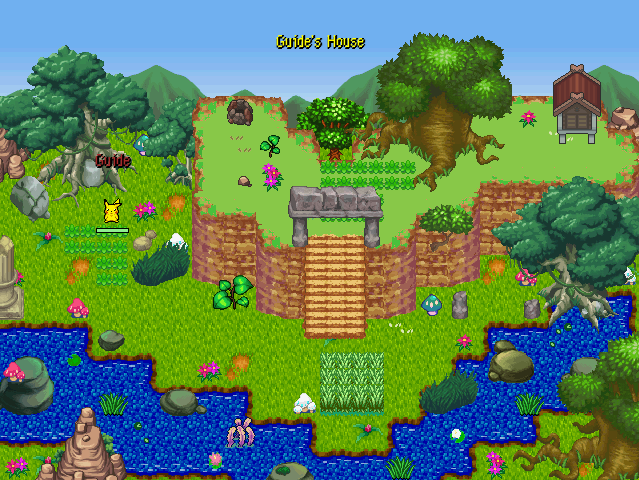
Guide to “My House”
and ¡Voila! You have arrived at YOUR PMU HOUSE! And that means the fun is just beginning!


